Animation Blueprints and Blendspace
Introduction
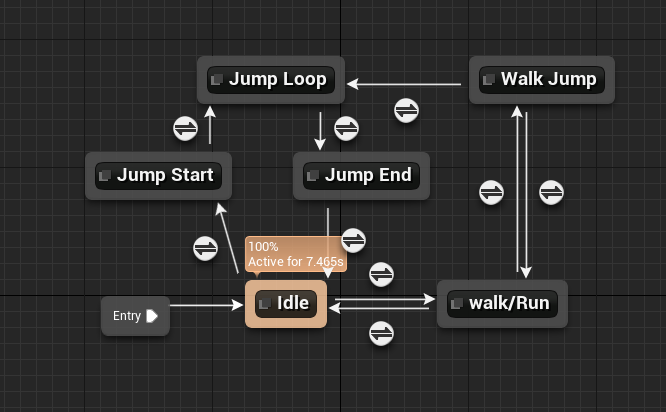
Quick Recap on how to set up an Animation Blueprint with Blendspace for your characters in Unreal Engine. In this walkthrough we will be working with idle, walk, run, jump loop and a walking jump animation for the given character.
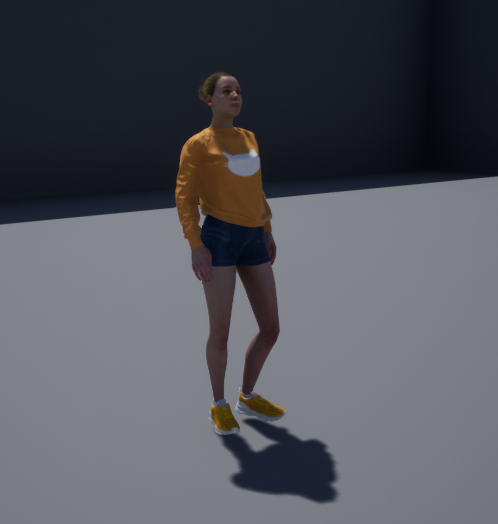
Import from a wide variety of character models and animations from Mixamo (Free open-source site for downloadable 3D Characters and animations; rigged and readily accessible.)
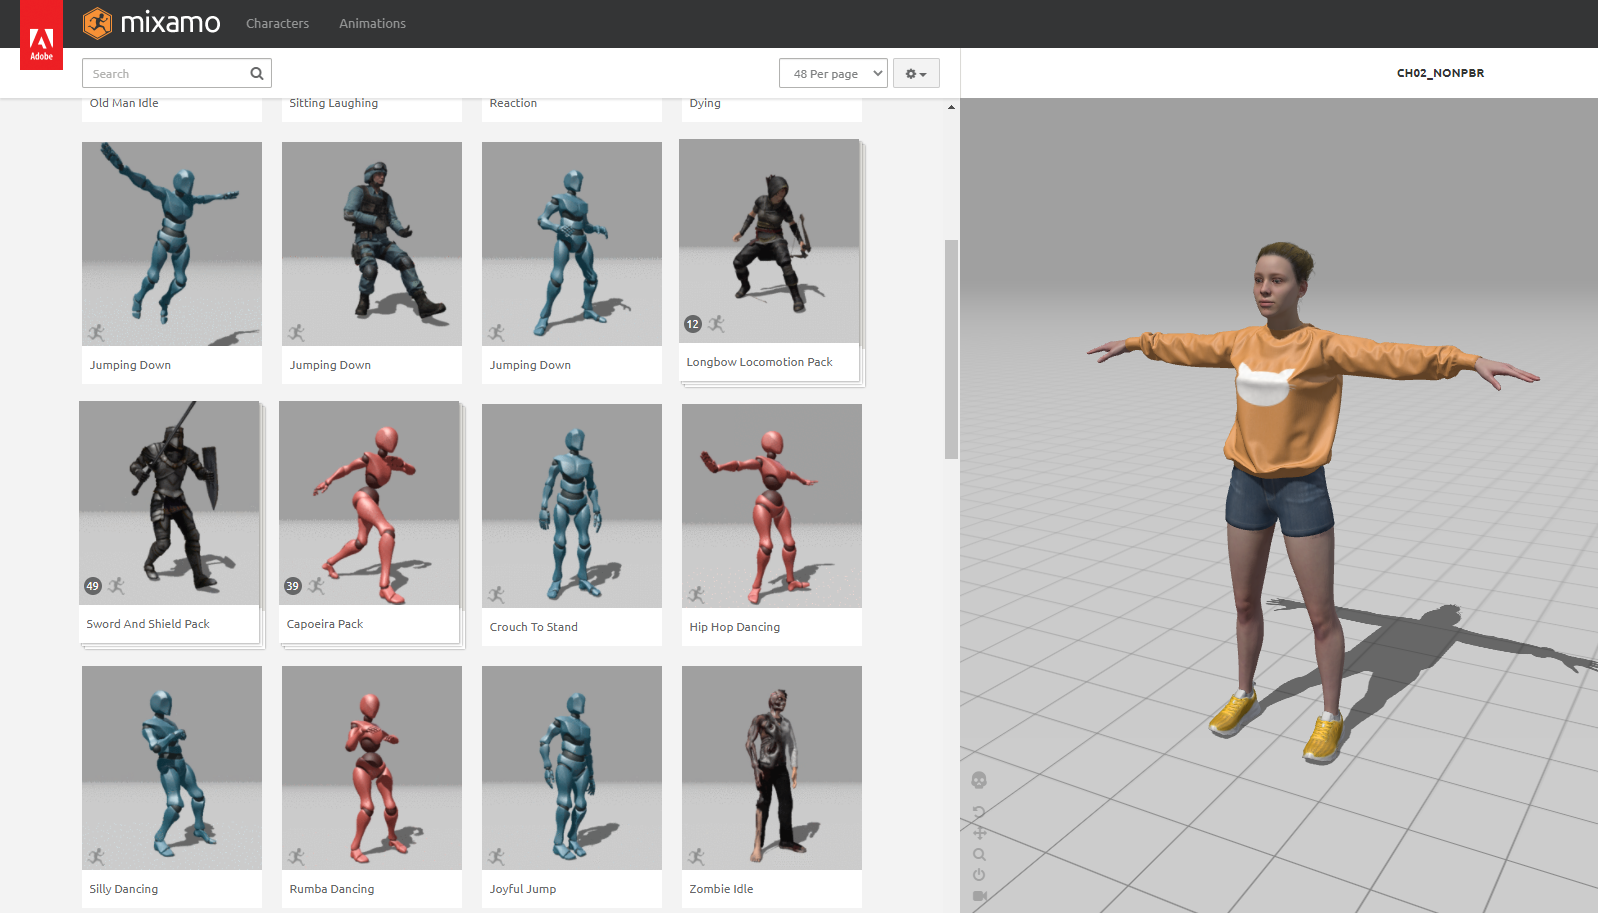
Importing character asset and animations into Unreal Engine
Import Animations of your choice, here I used:
- Idle
- Walk
- Run
- Jump loop
- Walking jump
Ensure that the Animations are mapped to the asset rig of choice.
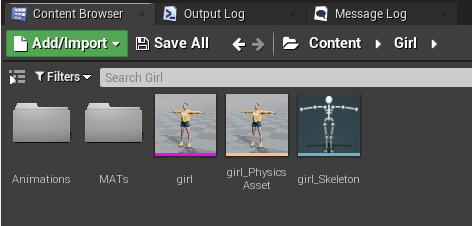
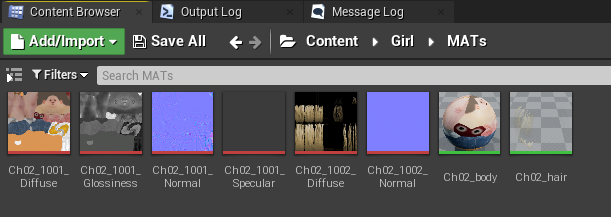
Create Folders to store the Materials and imported animations

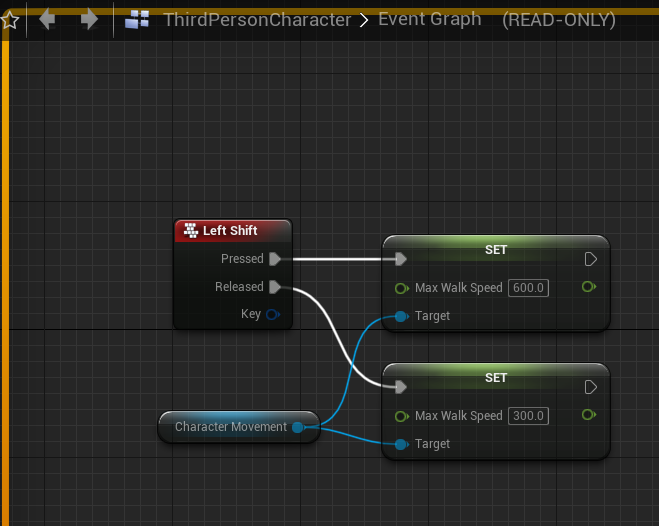
Here I created a Third Person Example Map project, Now we then setup the Max and Min walk speed within the Third Person Character Blueprint with a keyboard event.
- ThirdPersonCharacter > Event Graph
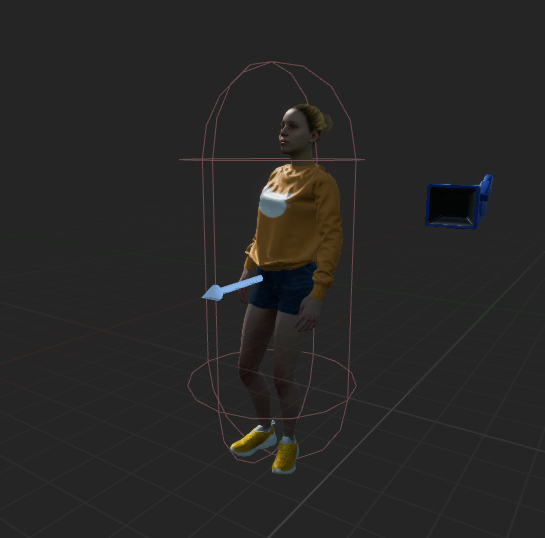
Asset Animation BP Setup
In this section I setup the Animation Blueprint to control the various animations with the help of State Machines.
To do so, right click > Animation > Animation Blueprint > AnimGraph
- Each Animation is setup with a "State", the connected states with the right values and attributes leads to a smooth animation blend in game.
- Create Variables for Speed, Direction and Jumping.
- Have the Output Pose in the AnimGraph setup with the Locomotion State Machine and Default Slot.
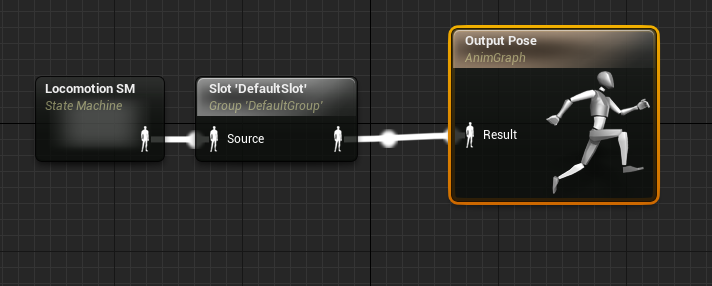
Creating the Locomotion SM
- Once all the states are added in, we can now drag in their respective animations and associate them with the already created variables for speed, direction and jumping.
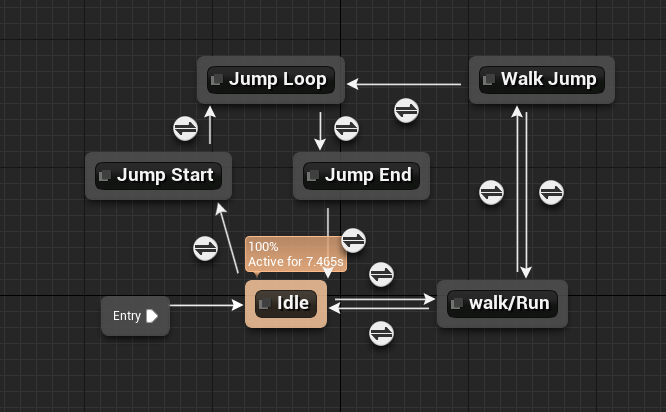
- Walk/Run state will be setup a little differently compared to the other animation states.
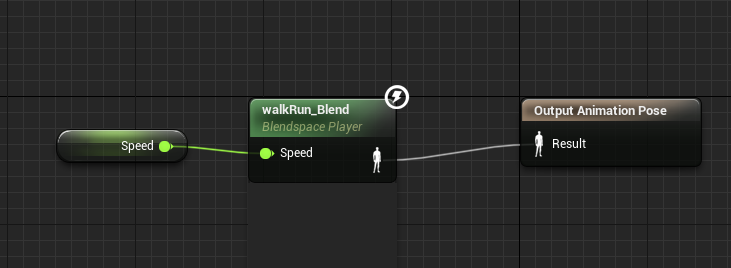
Blendspace
- Walk/Run State will have the speed Variable that we created earlier to tap into the Min and Max speed we set up in the third person character BP and the Blendspace 1D referenced in ( Right click > Animation > Blendspace 1D)
- In the the Blendspace 1D's Asset Details panel, set the Min and Max Axis Value to 300 and 600 respectively.
- Set the Target Weight Interposlation within the range of 5-10 (here I have it as 5)
- Drag in the Idle animation from the Asset Browser and add it to the graph at the Min value (300) and the running animation at the Max Value (600)
- Shift drag your cursor within the graph (green diamond icon) to see your character blending between the two animation states (walk and run.)

PLAY TEST
- Now that we have everything in place, we can now go ahead and test the blended states.
- Hit the Play button in-editor to start, use keys to move around the map.
- The character can now interpolate between the different states that we had setup previously.
- We can tweak the values in our BP (in this case the Jump Idle can be made more smoother) while transitioning between the Anim states to appear more realistic.
